If your Shopify store gets international traffic — and most do — you're losing sales every day to wrong-country experiences. A French customer landing on your USD pricing. A UK shopper seeing $29.99 instead of £24.99. A Canadian visitor asked to pay USD shipping rates.
These visitors don't email you. They just leave.
This guide shows you exactly how to set up country-based redirects on Shopify in 2026 — using native Shopify Markets settings (free, built-in), and where you'll need a third-party app for advanced control.
Quick Answer
Most stores can set up basic country redirects using Shopify's native Markets settings in under 10 minutes — no app required. Go to Settings → Markets → Preferences → enable "Country/region redirection."
You'll need a third-party app if you:
- Sell to EU customers via EU top-level domains (e.g., .fr, .de)
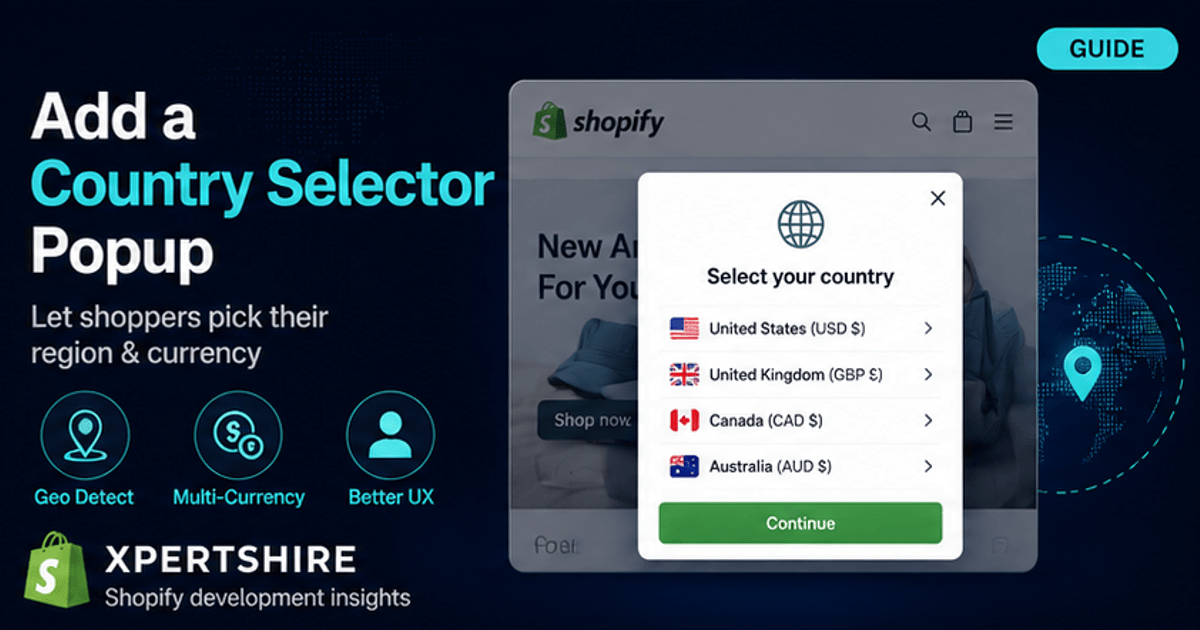
- Want country-specific popups asking visitors to confirm their region
- Need A/B testing to compare redirect strategies
- Want to redirect to specific URLs (not just markets)
- Need to block certain countries entirely
Why Country Redirects Matter
Research shows that 30-50% of traffic to Shopify stores comes from outside the merchant's home country. Of that international traffic, a significant portion bounces because of:
- Wrong currency — visitors don't trust unfamiliar currencies
- Wrong shipping options — they assume international shipping is too expensive
- Wrong language — friction increases bounce rates
- Tax/duty surprises — checkout abandonment
A properly configured geolocation strategy can recover a meaningful portion of this lost revenue. Let's set yours up.
Method 1: Native Shopify Markets (Free, Built-In)
In early 2025, Shopify discontinued their standalone Geolocation app and moved basic redirection features directly into the platform. For most merchants with simple needs, this native solution is sufficient.
Step 1: Set Up Markets
Markets are how Shopify lets you offer different experiences (currency, language, products) to customers in different countries.
- From your Shopify admin, navigate to Settings → Markets
- Click Add market
- Name your market (e.g., "European Union")
- Select countries to include
- Click Add market
Repeat for each region you want to serve differently. Common market structures include:
- United States (default)
- European Union
- United Kingdom
- Canada
- Australia/New Zealand
- Asia-Pacific
Step 2: Configure Domain Strategy
For each market, you can choose:
- Subfolder (example.com/uk) — Easiest, no DNS changes
- Subdomain (uk.example.com) — Better SEO segmentation
- Top-level domain (example.co.uk) — Best for SEO, requires DNS setup
To configure:
- Go to Settings → Markets
- Click on a market → Domain/language
- Select your preferred URL structure
- Click Save
Step 3: Enable Automatic Country Redirection
This is where the magic happens:
- Go to Online Store → Preferences
- Scroll to the Automatic redirection section
- Toggle ON Country/region redirection
- (Optional) Toggle ON Language redirection
- Click Save
Now when a visitor from France lands on your .com store, Shopify will automatically detect their location via GeoIP and redirect them to your French market.
Step 4: Test the Redirection
Always test before launching:
- Open your store in an incognito browser window
- Use a free VPN (like Windscribe or ProtonVPN's free tier)
- Connect to a server in your target country
- Visit your store URL
- You should be redirected to the correct market
Limitations of Native Shopify Redirection
While Shopify's native solution covers basic cases, it has notable limitations:
EU compliance gap: Customers from the EU accessing an EU country code top-level domain (.fr, .de, .it) are NOT automatically redirected, to comply with local legislation. You need a consent-based popup for EU markets.
No customization: You can't customize the redirect experience, add country flags, or show a "Stay here / Go to UK store" choice.
No A/B testing: You can't test different redirect strategies to find what converts best.
No exclusions: You can't easily exclude bots, specific IPs, or refer-from sources.
SEO concerns: Google explicitly warns against IP-based automatic redirects for SEO. According to John Mueller (Google Search Advocate): "I'd avoid redirects by IP location in most cases; it's easy to break indexing & frustrate users."
For these reasons, many merchants supplement native settings with a geolocation app.
Method 2: Third-Party Geolocation Apps
When native settings hit their limits, a Shopify App Store app extends your control. Here's what to look for.
Key Features to Compare
When evaluating geolocation apps, prioritize:
- Pricing model — Free vs. tiered vs. usage-based
- Visitor caps — Some free tiers cap at 200-500 visitors
- Popup vs. auto-redirect — Best apps offer both
- Country flags + Yes/No buttons — Improves conversion vs. silent redirect
- A/B testing — Compare strategies with data
- Country blocker — Block fraud-prone regions
- IP whitelist — Exclude your office, CDN, partners
- Bot exclusion — Don't redirect Googlebot (SEO disaster)
- GDPR compliance — Critical for EU traffic
- Theme compatibility — Works with all themes via theme app extensions
Apps That Cover the Geolocation Category
The Shopify App Store has 100+ geolocation apps. Top categories include:
- Country redirect apps — Send visitors to the right regional store
- Country blocker apps — Restrict access from specific regions
- Currency converter apps — Show prices in local currency
- Language translators — Auto-translate based on browser language
For a focused country-redirect-plus-blocker solution, Geo Redirect Xpert offers all of these features currently free during launch — including A/B testing, which most apps don't have.
Setting Up Country Redirects with Geo Redirect Xpert
If you want full control over the redirect experience (popups, banners, A/B tests, country-targeted promotions), here's a quick setup walkthrough:
Step 1: Install
Visit apps.shopify.com/geo-redirect-xpert → Click "Add app" → Approve permissions.
Step 2: Activate Theme App Embed (Required)
This is crucial — without this step, redirects won't work:
- Go to Online Store → Themes → Customize
- Click App embeds in the left sidebar
- Toggle ON Geo Redirect Xpert
- Click Save (top right)
Step 3: Create Your First Redirect Rule
Inside the app:
- Navigate to Redirect Rules → Create Rule
- Rule Name: Something descriptive (e.g., "UK Visitors → UK Store")
- Target Countries: Search and select countries (e.g., United Kingdom)
- Rule Type: Choose one of:
- Auto Redirect — Silent send to URL
- Banner on Top — Notification with Yes/No
- Popup Box — Modal with country flag + buttons
- Destination URL: e.g.,
https://example.com/uk-storeor/uk - Display Trigger: On Page Load (most common)
- Target Device: All Devices (default)
- Click Save
Step 4: Customize the Design (For Banners/Popups)
If you chose Banner or Popup, configure:
- Message text: "Looks like you're visiting from [Country]. Would you like to switch?"
- Primary button: "Visit [Country] Store" with country flag
- Secondary button: "Stay Here"
- Colors: Match your brand
- Position: Top, bottom, or center modal
The live preview shows exactly how it'll appear to visitors.
Step 5: Test in Incognito with VPN
Same as before — open an incognito window, connect to a VPN in your target country, and verify the redirect works.
Advanced Strategies
Once basic redirects are working, consider these advanced tactics:
Strategy 1: A/B Test Auto-Redirect vs. Popup
Some merchants find auto-redirects convert better. Others find popups (giving visitors choice) result in higher trust and conversion. Don't guess — test.
With A/B testing built into your geolocation tool, you can:
- Create Variant A — Auto-redirect to /uk
- Create Variant B — Popup with confirmation
- Set 50/50 traffic split
- Run for 14+ days
- Compare conversion rates
Strategy 2: Country-Specific Promotions
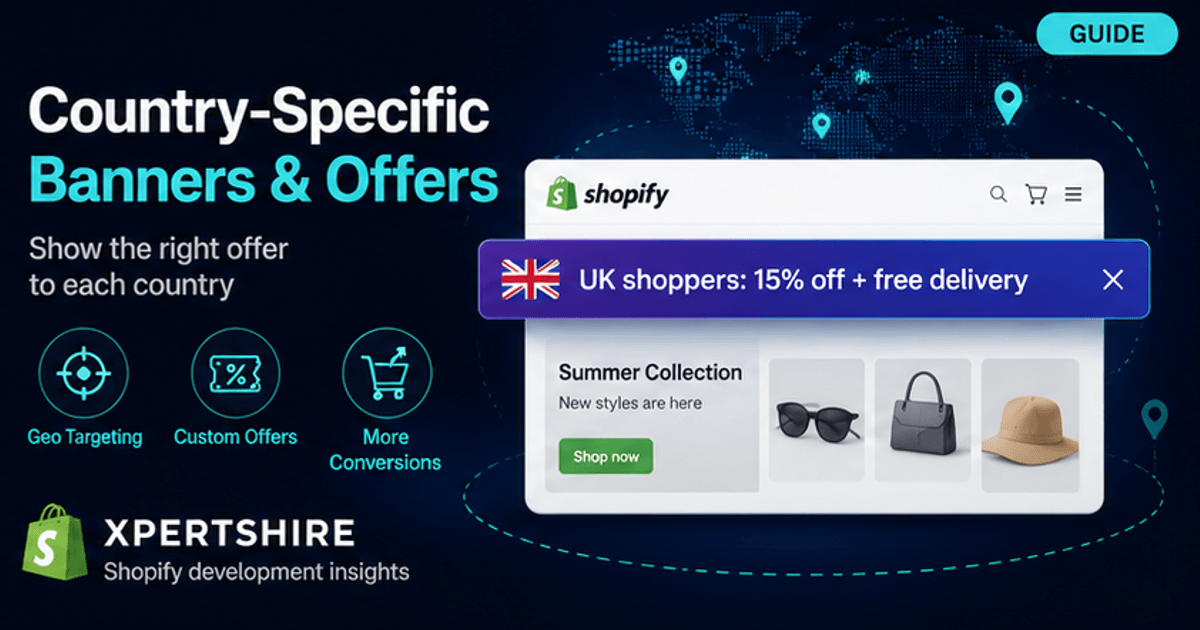
Beyond basic redirects, create country-targeted announcement bars:
- "Free shipping to UK over £50! Use code UK10" — shown only to UK visitors
- "Black Friday: 40% off — ends in 23h 59m" — shown to all with countdown
- "Visit our India store for ₹INR pricing" — shown only to India visitors
These geo-targeted promotions typically convert 2-3x better than generic site-wide messages.
Strategy 3: Block Fraud-Prone Regions
If your store sees fraud from specific countries, country blocking adds a layer of defense:
- Block country (e.g., countries you don't ship to)
- Show a custom 403 access denied page
- Whitelist your office IP for testing
Strategy 4: Exclude Bots and Search Engines
Critical for SEO: never redirect Googlebot, Bingbot, or other crawlers. Quality apps automatically exclude major bots, but verify this in your app's settings.
Common Mistakes to Avoid
Mistake 1: Forgetting EU Compliance
EU visitors require consent-based redirection. Auto-redirecting them violates GDPR-related guidance. Use a popup that asks "Visit our French store?" with Yes/No buttons.
Mistake 2: Breaking SEO with Bot Redirects
If you redirect Googlebot, your search rankings will plummet. Always exclude bots from redirect rules.
Mistake 3: Not Testing on Mobile
70%+ of Shopify traffic is mobile. Test redirects on iOS Safari and Android Chrome — the experience can differ from desktop.
Mistake 4: Forgetting to Whitelist Your Office IP
When you test from your office, the redirect kicks in. Whitelist your office IP so you can preview the original site.
Mistake 5: Setting and Forgetting
Geolocation rules need maintenance. Quarterly:
- Review which countries drive most blocked/redirected traffic
- Check for any new markets you should add
- Verify your IP whitelist is current
- Test redirect rules still work
Next Steps
If you're just getting started:
- Set up Shopify Markets for each region you serve
- Enable native country redirection (Online Store → Preferences)
- Test thoroughly with a VPN
- Add a third-party app if you need advanced features (popups, A/B testing, blocking)
If you want a free, full-featured geolocation app built specifically for Shopify, Geo Redirect Xpert covers everything in this guide — including A/B testing and country-targeted announcement bars — currently free during launch.
Have questions about your specific setup? Drop them in the comments or DM me on LinkedIn.
This guide was last updated May 2026 to reflect Shopify's latest Markets features and the discontinuation of the standalone Shopify Geolocation app.